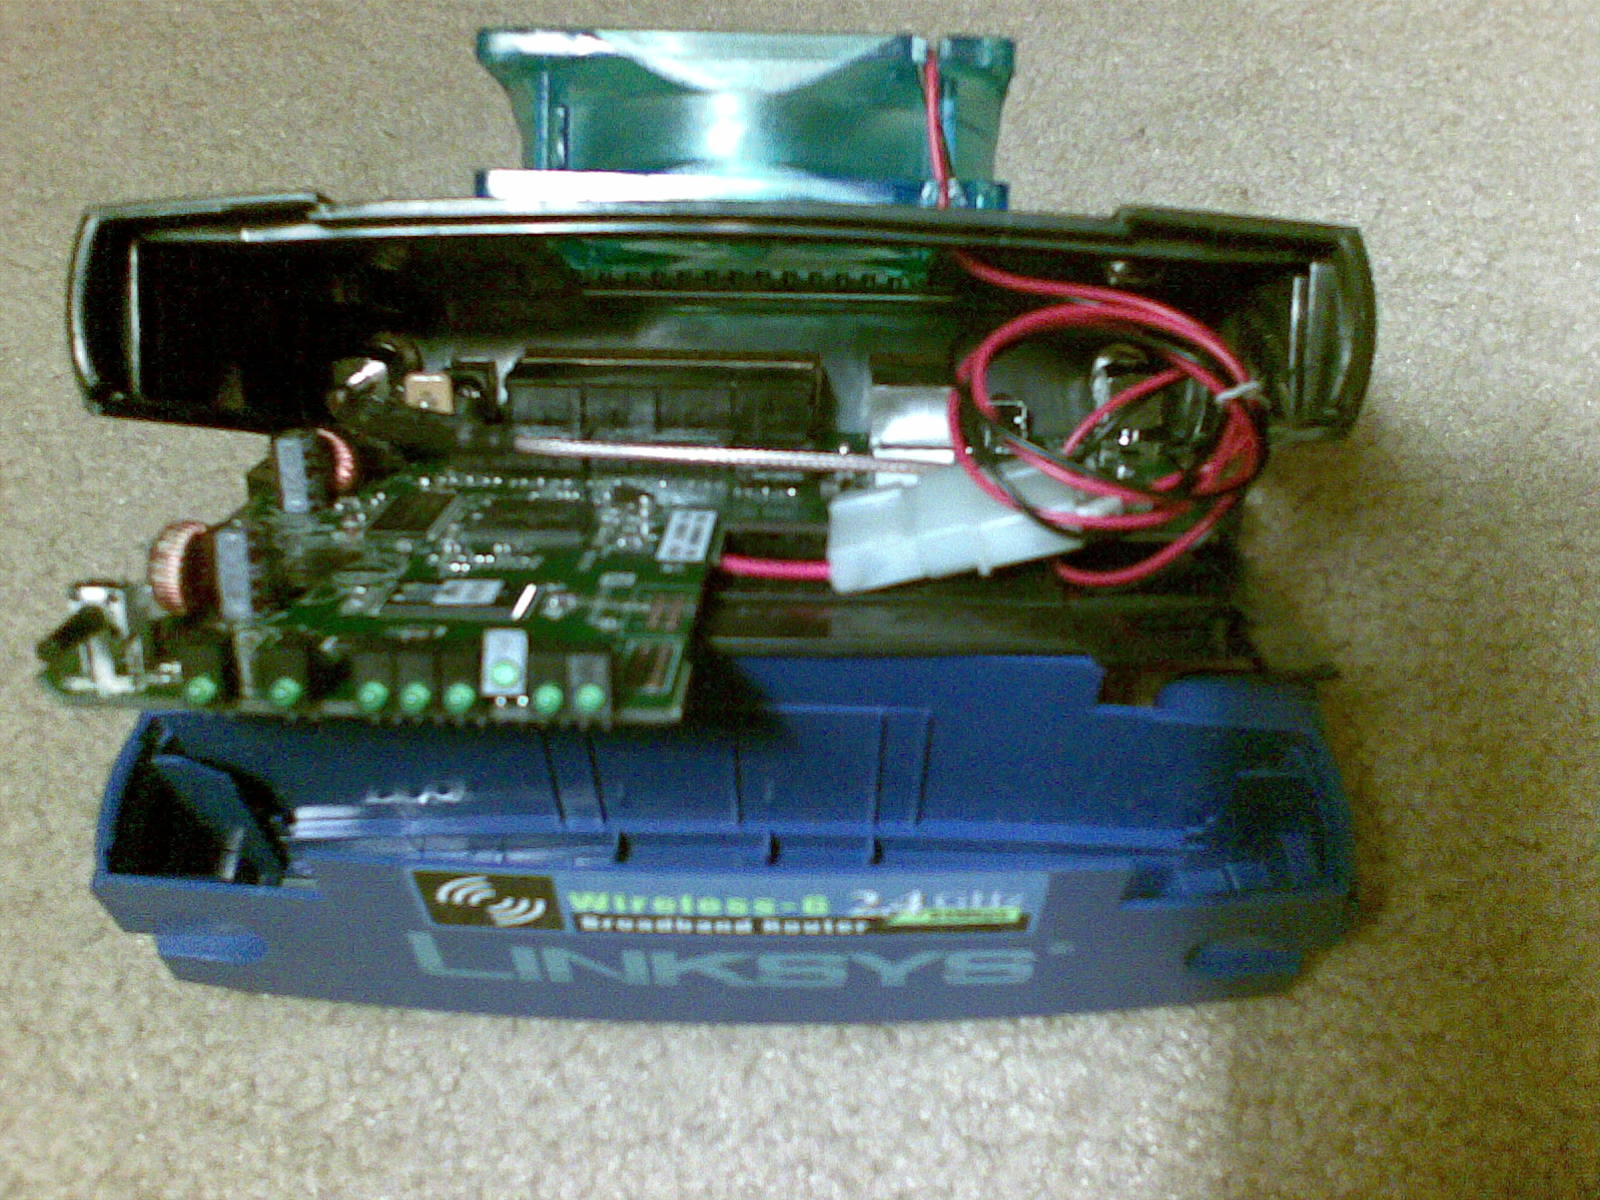
A while back, I was having some issues with my Linksys Router. It was a WRT54GS v5. A perfectly good router back then, but whenever I connected to it with my shiny new Windows 7 laptop via Wi-Fi, my network connection slowed to a crawl.
I tried everything and changed all of the router settings, to no avail.
The real problem turned out to be a few settings in Windows 7 (long story), but I didn’t discover that before I had completely bricked my Linksys router.
The “bricking” event came after I’d contacted our team of authors, and one of the authors (who no longer writes for us anymore), suggested that I flash the “crappy” Linksys firmware with the free Tomato firmware.
What he failed to tell me – apparently assuming I was less of a Router-flashing amateur than I was – was that I should verify the compatibility of the router with the Tomato firmware.
Long story short – by the end of the night I had wiped my Router of all firmware and firmly bricked it. I couldn’t even ping it. According to all of the blogs and forums I read – it was as good as dead.
Unbricking a Bricked Linksys Router
After laying the router to rest in a box in the basement and buying a brand new, faster router, I forgot all about the old, “dead” Linksys router.
Recently, I wanted to build a sub-network on my home LAN. I remembered the bricked router and wondered if – years later – I could finally fix that thing. Worth a try, right?
After doing a bit of research, I discovered a variety of factory “reset” sequences that allegedly work with Linksys routers. Basically, hold down the reset button for 15 to 30 seconds (depending who you talk to), power off the router (while holding reset), then power back on and keep holding reset for 15 to 30 seconds. 30 seconds worked for me.
While the power light kept incessantly blinking (the sign of a bricked router), and while I couldn’t access it on 192.168.1.1 with my browser, I was surprised to see that my computer “saw” the router when I connected a network cable.
Better yet, I could actually ping it.
It seemed so odd to me that I could ping the router, but couldn’t get to the web-based emergency recovery screen that all of the blogs and forums mentioned should come up after a reset. I’d clearly done a real number on this thing.
So, I went out in search of a way to flash my Linksys with firmware without the need to use any web-based front end. Tomato firmware was out for my Linksys version. However, I discovered an awesome set of tools and instructions at DD-WRT. The first step is to go to that page and download the vxworks_prep_GS_v03.zip file. After unzipping the files, run the VxImgToolGUI.exe utility.
Make sure to click the right WRT54G version that you’re trying to unbrick. Type in the MAC address from the label under your router, and then save the file as My54gsImage.bin in the folder where you unzipped those files.
Now, here’s the problem. The DD-WRT instructions tell you to go to your router “webgui” screen and click on firmware upgrade and use the vxworks_prep_GS_v03.bin file. The problem – I can’t get any webgui.
The solution? A very, very cool tool called Firmware Upgrade Utility. Pick the latest version, download and install, then run the Utility.
This awesome little application upgrades the firmware via TFTP. According to the DD-WRT instructions for upgrading from a bad flash, you can just use the good LinkSys firmware image that you just created with the utility above, or the DD-WRT image file (included in the zip package you unpacked.
First, I tried using the Firmware Upgrade Utility to reinstall the Linksys Image bin. Just type your router IP (that you know you can ping), browse to the firmware file, and click “Send”.
You’ll see the progress bar as the utility transfers the new firmware to your sick router.
When it’s done, try rebooting it and see if you can get to the web management window by going to 192.168.1.1 with your browser.
At this point, I still couldn’t connect to the router with the browser, but I decided to forge ahead anyway. What could I lose – the router was already bricked, right? In the “Recover from a bad flash” instructions, the DD-WRT team says to follow the flash above with a flash of the 12548_NEWD_Micro.bin file included in the zip collection you extracted.
This time, instead of using the Firmware Upgrade Utility, I decided to use the TFTP command that the DD-WRT instructions mention. In this case, I opened a command prompt and typed:
“TFTP -i 192.168.1.1 PUT dd-wrt.v24-12548_NEWD_micro.bin”
After a quick file transfer screen, the following box opened up.
I typed in the router IP address for “Server”, no password, and browsed to the bin file mentioned above. I changed retry to 99 times, and clicked “Upgrade”.
After the transfer progress went through its routine, the status message finally said “Firmware was upgraded successfully!”
I was a bit in disbelief – did it really work? Was my long-bricked Linksys router finally brought back from the grave?
With great anticipation, I went once again to the browser window and typed: 192.168.1.1 – and saw this:
Let me just say, this was around 2 a.m. and I still jumped up out of my chair and shouted with joy. I had honestly started this little “unbricking” endeavor thinking that all odds were against me. But, when you’re dealing with nothing more than a paperweight, really – what do you have to lose?
Now that I see it’s really possible to dig your way out of a bricked Linksys router, I’m going to be tempted to gather up all of the “dead” Linksys routers my friends and family throw away, and then flash them with DD-WRT using the procedure above!
Have you ever bricked your router? Were you able to fix it, or did you give up and throw your router away? Share your own experiences in the comments section below.
Via makeuseof


1 comments:
Amazing information you have shared ... I am really impressed and appreciate the work you do .. Thank you for taking the time to discuss this, I feel strongly about it and love to learn more on the subject.
Visit My site Linksys Router Support
Post a Comment