
Ever since I used MoWeS Portable as my portable web server, I’ve never looked for any other application for my web testing purposes. I’ve tried several other portable web servers like XAMPP and other similar applications. These other web servers work too but, sometimes, they act up such that if you’re not a PHP expert, you’ll need to scamper and look for another replacement, like I did many times. My search for what I consider (for my purposes) the best portable web server ended when I found MoWeS Portable. I installed it on my USB so that I could bring my work anywhere and open them from any machine. This is particularly useful for site developers who would want to show their work to their clients anywhere, anytime.
Installing MoWeS Portable Webserver
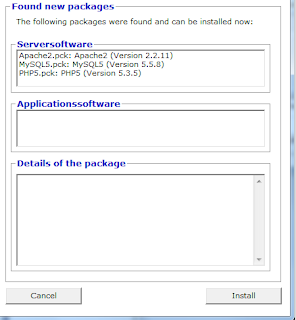
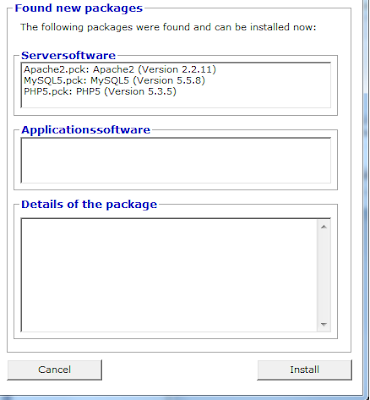
1. Download the mowes package with at least the following other packages:
- PHP5
- MySQL
- Apache
3. Move the mowes_portable folder to the D:/ directory or on a USB
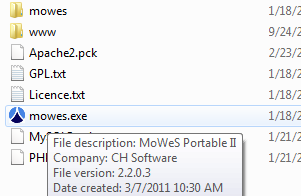
4. Click on the mowes application to install.
- click on mowes.exe
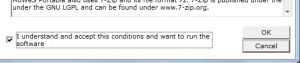
- choose english and click ok
- accept and ok

- install
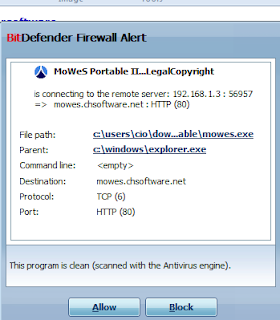
- if bitdefender, zonealarm, or some other app asks if you want to allow mowes portable, mysql, apache to connect to the internet, allow it.
you can now open your browser and type “localhost/mywptestlab”
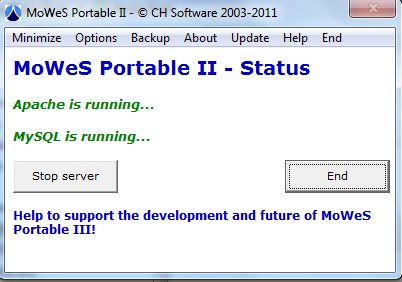
Subsequent Use of MoWeS Portable Webserver:
- Double click the mowes executable. That’s the mowes.exe under the mowes_portable folder.
- When you’re prompted to install applications, click cancel.
- When the mowes window changes to this your portable web server is now ready to use.
If you create, say a folder called ‘test’ under the ‘www’ folder in the main MoWeS Portable directory, and created a file called index.html or index.php in it, then you could now run that file by opening your favorite browser and typing ‘localhost/test’. Alternatively, you can install a wordpress test site in your MoWeS Portable web server.
Setting Up A WordPress Site To Run Under MoWeS Portable Webserver
After having installed the MoWes Portable web server on your your USB or hard disk, you’re ready to work with wordpress installations on your localhost server.
1. Download the latest wordpress platform zip file into the www folder of your mowes_portable directory.
2. Unpack/unzip it and rename the newly created folder into your planned test wp installation, say ‘mywptestlab’.
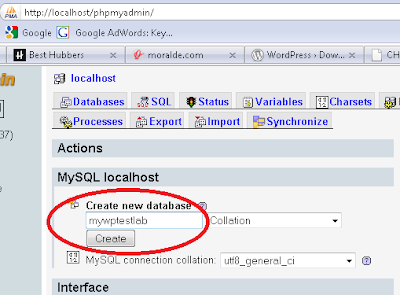
3. On your browser, type the url address: localhost/phpmyadmin/4. On the ‘Create new database’ textbox, type ‘mywptestlab’ and click the ‘Create’ button.
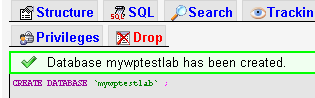
5. Your db has just been created.
6. Click on the mywptestlab folder and open the wp-config-sample.php file into wordpad (right click, open with wordpad)
7. Find the section where the following lines are located:/** The name of the database for WordPress */8. Change ‘database_name_here’ to ‘mywptestlab’
define('DB_NAME', 'database_name_here');
/** MySQL database username */
define('DB_USER', 'username_here');
/** MySQL database password */
define('DB_PASSWORD', 'password_here');
/** MySQL hostname */
define('DB_HOST', 'localhost');
9.Change ‘username_here’ to ‘root’
10. Change ‘password_here’ to ”. Meaning, no password.
11. Save as wp-config.php
12. type localhost/mywptestlab/wp-admin/install.php on the browser’s url address box.
13. The welcome page will present itself with a few textboxes you need to fill.
- Site Title: My WP Test Lab
- Username: admin (leave as it is)
- password: mywptestlab
- email address: youremailhere@gmail.com
15. Success page displays, Click ‘Login’ button
16. Input login data
17. You’re now in your WP Dashboard
18. Now you can try themes, plugins and other edits before you apply it on your online blogs or sites.


0 comments:
Post a Comment